

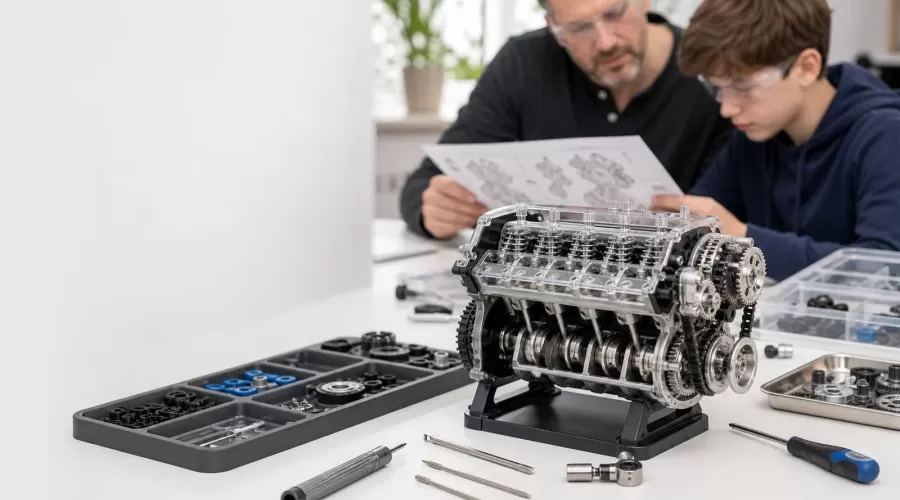
Updated July 2026. An engine model can make pistons, gears, timing, friction, and energy transfer visible. That does not make every engine kit a children's toy. The right choice depends on the product's stated age range, the tools and energy source involved, the learner's maturity, and the level of adult supervision available.
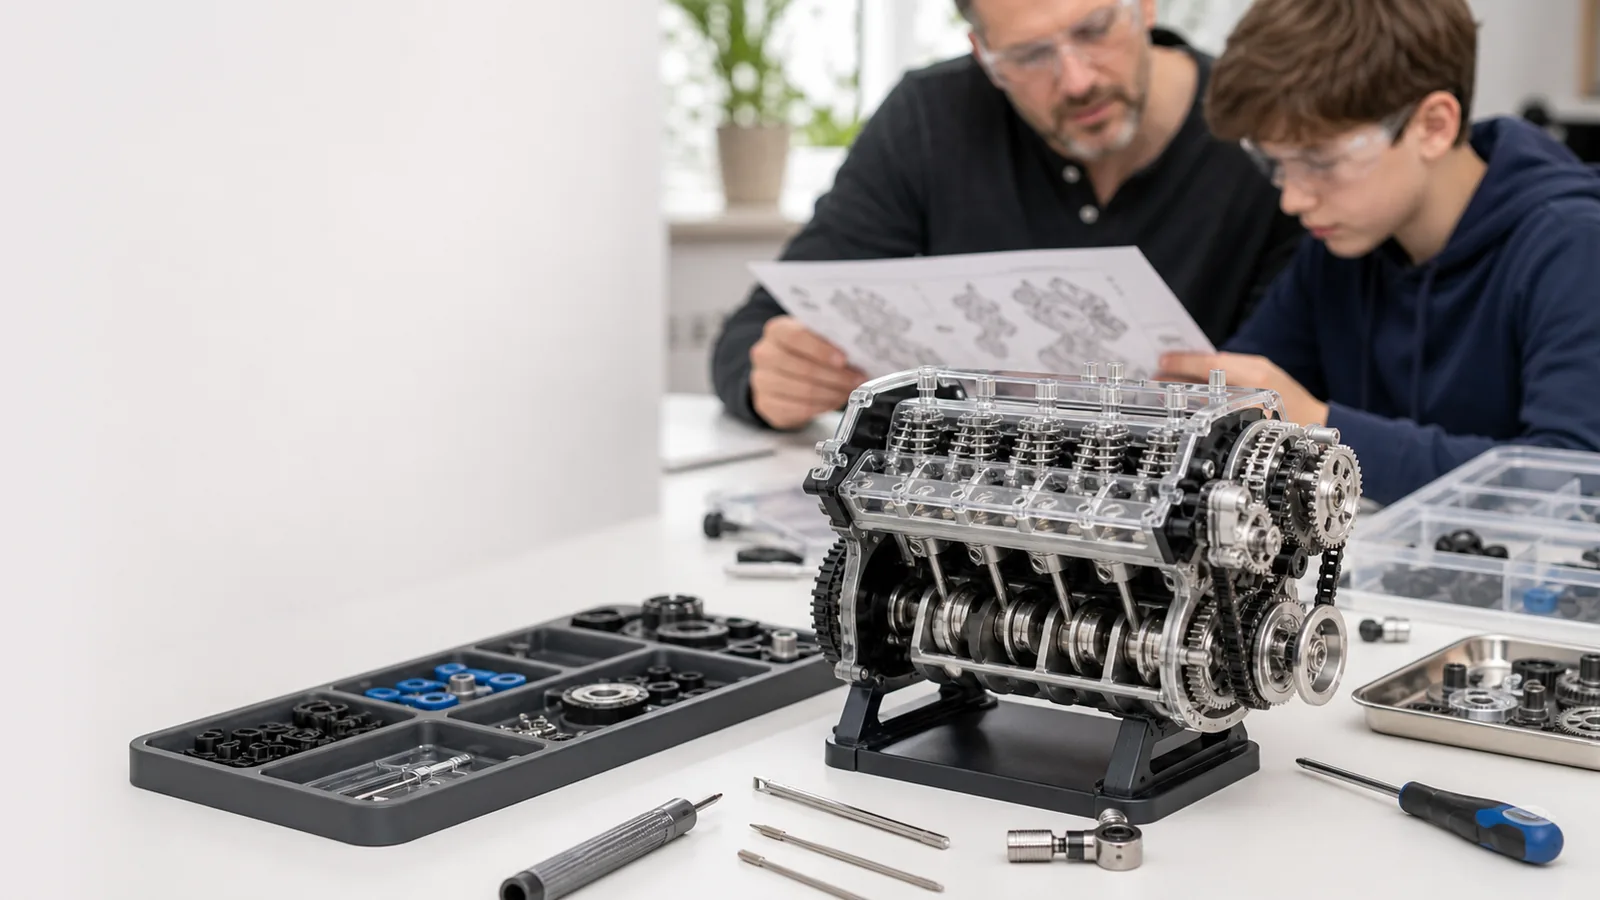
Editorial note: EnginesDIY sells engine models. This guide uses independent safety and education references and does not override a product label or manual. If a kit has fuel, flame, pressurized equipment, hot surfaces, sharp tools, or a running internal-combustion engine, treat it as specialist hobby equipment and not as an unsupervised children's activity.
Quick answer: what makes a kit age-appropriate?
Age is only the first screen. Before giving an engine model to a young builder, an adult should be able to answer six questions:
- What age or user group does the manufacturer state on the product and packaging?
- Are there small parts, sharp edges, magnets, springs, or pinch points?
- Which tools are required, and can the learner use them safely?
- Does the finished model move by hand, low-voltage motor, external heat, compressed air, steam, or fuel?
- Can an adult supervise every step that involves a hazard?
- Is there a complete manual with part identification, operating limits, and shutdown steps?
The U.S. Consumer Product Safety Commission advises buyers to follow package age guidance and keep toys with small parts away from children younger than three. Its toy safety guidance also stresses choosing products that match a child's abilities. The CPSC's more detailed toy safety business guidance discusses small objects, accessible edges, points, and electrical or thermal energy. Those are useful screening categories even when a model is sold as general hobby equipment rather than a toy.
A practical supervision matrix
This matrix is a conservative planning tool, not a substitute for the maker's age label.
| Learner situation | Suitable activity type | Adult role | Avoid |
|---|---|---|---|
| Young child or any child who mouths objects | Large-part demonstrations selected by a parent or teacher | Direct control of all parts | Loose small parts, magnets, sharp tools and operating engine kits |
| Older child new to building | Hand-turned, snap-fit or simple non-combustion mechanism if the maker approves the age | One-to-one inventory, tool handling and movement check | Flame, fuel, pressure and unsupervised motorized operation |
| Teen with basic tool skills | Detailed mechanical or low-voltage demonstration model within the stated age range | Review manual, supervise tools and inspect before operation | Assuming maturity removes the need for guards and eye protection |
| Experienced older teen or adult hobbyist | Advanced metal kits after confirming product limits | Competent oversight for heat, pressure, fuel and rotating machinery | Improvised fuels, pressure vessels or undocumented modifications |
Choose the learning goal before the product
Goal 1: understand a four-stroke cycle
Choose a transparent or open mechanism where the learner can see pistons, crankshaft, valves, and timing components. A manually rotated or low-voltage demonstration is easier to pause and discuss than a fast-running fuel engine. NASA's explanation of the internal-combustion Otto cycle distinguishes intake, compression, combustion or power, and exhaust, while also separating mechanical operation from thermodynamics.
Goal 2: learn assembly and spatial reasoning
Look for a clear exploded view, numbered bags, repeated fastener sizes, and enough visual access to compare the manual with the physical part. The learner should be able to predict which surface mates with another and explain why a shaft must remain aligned.
Goal 3: practice measurement and testing
A kit with visible shafts and linkages supports simple measurements: flywheel diameter, piston stroke, gear tooth count, or the number of crank rotations per valve cycle. The value comes from recording observations, not racing to finish.
Goal 4: explore heat engines
A Stirling demonstration can show how a temperature difference produces motion, but the heat source remains a hazard. The adult must control the source and follow the maker's clearance, fuel, and cooling instructions. The Department of Energy gives a concise independent overview of how a Stirling engine converts heat into piston and crankshaft motion.
Safer starting points in the EnginesDIY catalog
Begin with the model engine kits category and filter by operating method, assembly level, and stated age. For visual four-stroke motion, compare the V8 STEM working engine model building kit and the V8 electromagnetic 8-coil engine model. For thermal demonstrations, review the Stirling engine category, but do not assume a small model or low-temperature design is safe for unsupervised use.
Products such as gasoline engines, hit-and-miss engines, live-steam systems, and combustion turbines are advanced hobby equipment. They should not be selected merely because a child likes engines. Product interest can be supported with a non-running cutaway, a video demonstration, or an adult-operated model until the learner has the required skills.
Set up the workspace
- Use a stable table with bright, shadow-free lighting.
- Place fasteners in labeled trays and keep the floor clear.
- Provide safety glasses that fit each person.
- Tie back hair and remove loose sleeves, jewelry, and drawstrings.
- Keep food and drink away from parts, lubricants, batteries, and tools.
- Use only the tools and consumables named by the manual.
- Create a separate container for unfinished assemblies so springs or small parts cannot be lost.
- Agree on a stop rule: anyone may say “stop” if a part binds, becomes hot, or behaves unexpectedly.
Use a guided engineering cycle
The National Academies describes science and engineering practices that include asking questions, developing and using models, carrying out investigations, analyzing data, using mathematics, designing solutions, and communicating information. Its Framework for K-12 Science Education summary is a stronger foundation than telling a learner to “follow the instructions and finish.”
- Ask: What should this subassembly do?
- Predict: Which part will move, and in what direction?
- Build: Complete one small stage and check it against the drawing.
- Test: Turn it slowly by hand and record friction, clearance, or motion.
- Explain: Name the force or connection that caused the observed movement.
- Refine: If the motion is not smooth, change one variable and test again.
The Smithsonian Science Education Center similarly uses observing, making, designing, and testing in its Science for Makerspaces resources. That sequence turns a kit into a structured investigation rather than a one-time assembly task.
Questions that build understanding
- Where does the input energy enter this model?
- Which part changes linear motion into rotation?
- What happens if two bearing supports are not parallel?
- Why does a flywheel help the crank pass through top or bottom dead center?
- Which fasteners locate a part and which fasteners only clamp it?
- How could we measure whether an adjustment reduced friction?
- Which product fact comes from the manual, and which statement is our observation?
A one-page parent or teacher checklist
- The product's stated age and operating method match the learner.
- The adult has read the complete manual before parts are opened.
- All small parts, sharp tools, moving parts, heat, pressure, and fuel hazards have been identified.
- The model will be hand-tested before any approved power source is connected.
- The learner has a notebook for predictions, measurements, and changes.
- The activity has a defined stopping point before fatigue or frustration.
- The adult can shut down the model immediately.
- Parts and tools will be counted and stored after the session.
Frequently asked questions
Are engine model kits toys?
Some products may be marketed as educational toys, while others are general-use models or specialist hobby equipment. Use the product's own labeling, intended age, certification information, required tools, and operating method. Do not infer “toy” from size or appearance.
What is the safest engine concept for a first lesson?
A maker-approved hand-turned or low-voltage demonstration with visible moving parts usually provides more time to observe than a heat, pressure, or fuel-powered model. The exact choice still depends on age, maturity, and the manual.
Can a child operate a Stirling or steam model?
Not without following the maker's age guidance and direct competent supervision. External heat, hot metal, steam, and rotating parts introduce hazards that are absent from a static model.
How long should a build session last?
Stop while the learner can still inspect carefully. A complex kit is better divided into inventory, frame, shaft, valve or timing, and test sessions than completed under time pressure.
Next step: use the checklist above while comparing engine model kits, then choose the simplest operating method that still meets the learning goal.
19 Comment(s)
1
1
1
1
1
1
1
1
1
1
1
1
1
1
1
1
1
1
1
1
1
1
1
1
1
1
1
1
1
1
1
1
1
1
1
1
1
1
1
1
1
1
1
1
1
1
1
1
1
1
1
1
1
1
1
1
1
1
1
1
1
1
1
1
1
1
1
1
1
1
1
1
1
1
1
1
1
1
1
1
1
1
1
1
1
1
1
1
1
1
1
1
1
1
1
1
1
Kids love building engine models 'cause it gives them a hands-on way to learn how stuff works. It’s like a puzzle, but with engines, and they get to see the results of their effort in real-time. I think the cool part is that they aren’t just following instructions—they’re figuring things out as they go, which is probably why it builds their problem-solving skills so much. Also, messing with small parts gives them better motor skills and patience. Makes me wonder if we should be focusing more on this kind of learning early on. It’s like a sneak peek into engineering and creativity all wrapped into one.
Kids love building engine models 'cause it gives them a hands-on way to learn how stuff works. It’s like a puzzle, but with engines, and they get to see the results of their effort in real-time. I think the cool part is that they aren’t just following instructions—they’re figuring things out as they go, which is probably why it builds their problem-solving skills so much. Also, messing with small parts gives them better motor skills and patience. Makes me wonder if we should be focusing more on this kind of learning early on. It’s like a sneak peek into engineering and creativity all wrapped into one.
Kids love building engine models 'cause it gives them a hands-on way to learn how stuff works. It’s like a puzzle, but with engines, and they get to see the results of their effort in real-time.
Leave a comment