

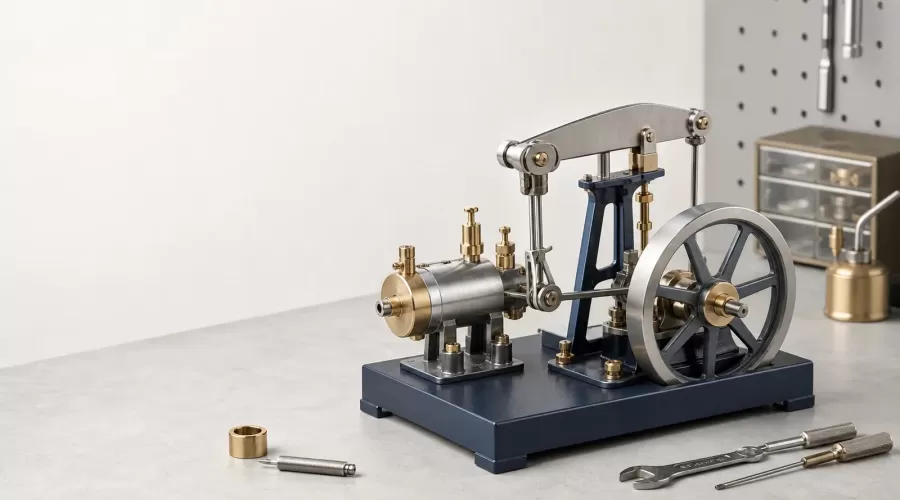
Updated July 2026. A model steam engine kit is a compact way to study how pressure, valves, a piston, a connecting rod, and a flywheel work as one system. The best result is not simply a model that turns. It is a model whose builder can explain the motion, inspect the joints, and operate it within the kit maker's limits.
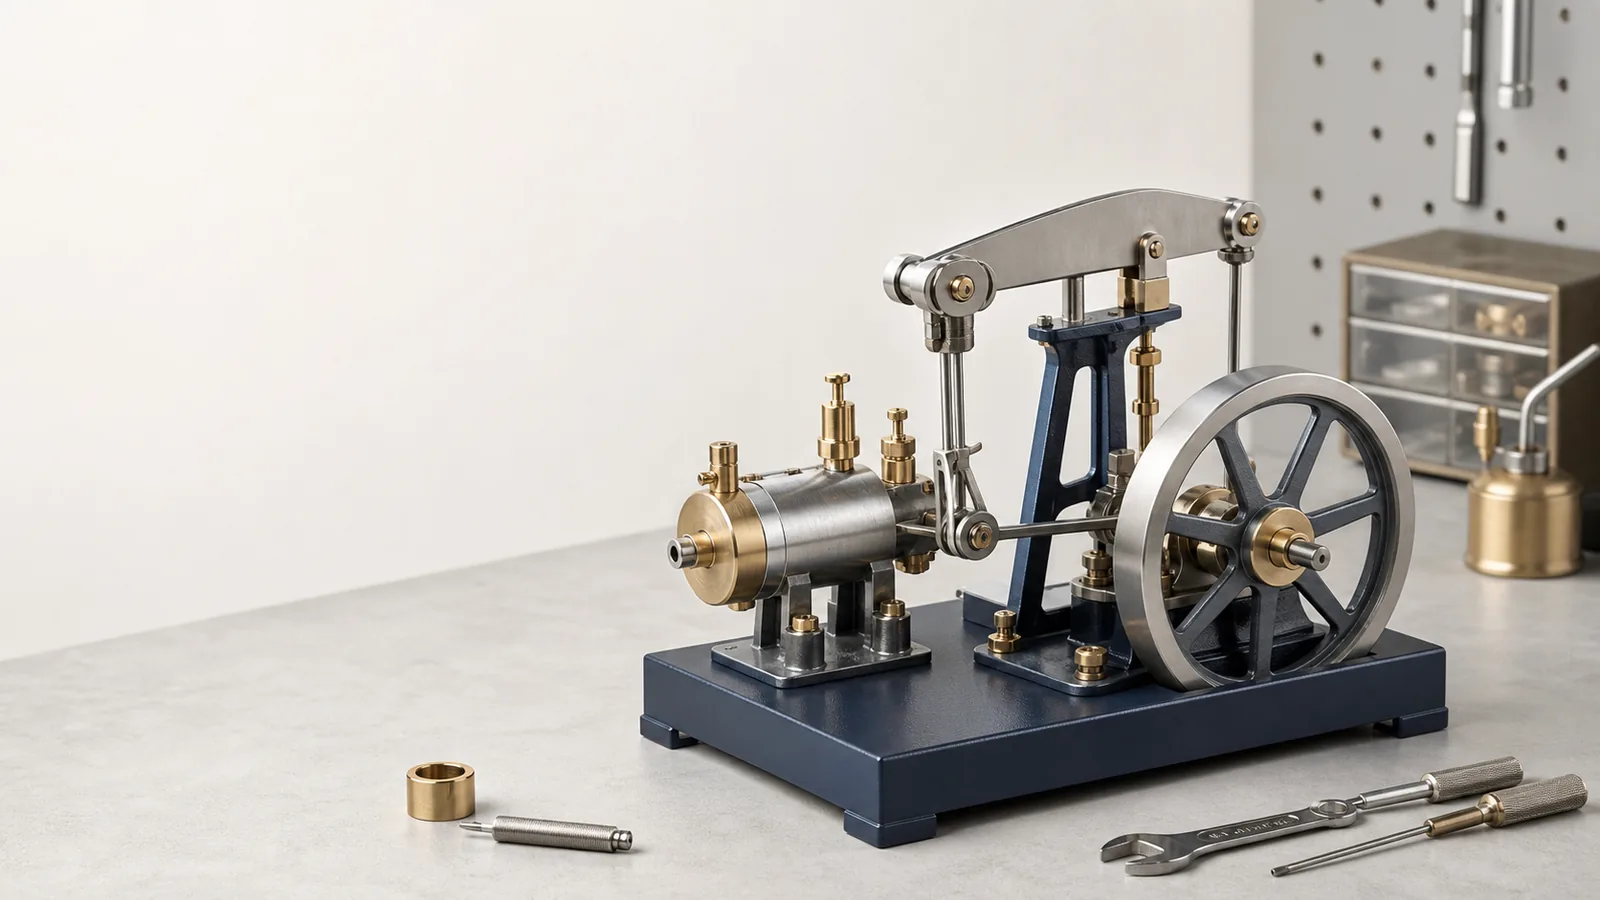
Editorial note: EnginesDIY sells engine models, so this guide separates product selection advice from engineering facts. Historical and safety claims link to independent organizations. Always follow the manual supplied with your exact kit; this article is not a substitute for the manufacturer's pressure, fuel, lubrication, or age limits.
What a model steam engine demonstrates
A reciprocating steam engine converts pressure into linear piston motion and then converts that motion into shaft rotation. Steam or compressed air enters the cylinder through a valve. The pressure difference acts on the piston. A connecting rod moves the crank, and the flywheel stores rotational energy so the mechanism can pass through positions where crank leverage is low.
That visible sequence is the reason a working model is more instructive than a closed display piece. It lets the builder trace energy through the machine and see how timing, friction, alignment, and inertia affect operation. Historic full-size engines used more elaborate valve gear and control systems. The ASME description of the Boulton & Watt rotative steam engine is a useful reference for the separate condenser, parallel motion, governor, and rotary drive that influenced later practice.
Know the parts before assembly
| Part | Job | What to inspect |
|---|---|---|
| Cylinder and piston | Convert pressure into sliding motion | Clean bore, smooth travel, correct seal and no side loading |
| Valve or slide valve | Controls inlet and exhaust timing | Correct orientation, free travel and ports aligned to the drawing |
| Connecting rod and crank | Convert linear motion into rotation | Fasteners secure, joints free, rod not rubbing the frame |
| Flywheel | Stores rotational energy | Runs true, does not touch the base and set screw seats on the shaft |
| Bearings and shaft | Support rotation | Parallel supports, correct spacing and only the specified lubricant |
| Base and frame | Keep components aligned | Flat mounting surface and fasteners tightened evenly |
How to choose the right kit
Start with the operating method, not the appearance. A hand-turned display mechanism has the lowest operating risk. A model designed for compressed-air demonstration avoids a burner and boiler but still needs pressure regulation and eye protection. A live-steam setup introduces hot surfaces, pressurized equipment, water management, and fuel handling. It belongs with an experienced adult operator and equipment specifically rated for that use.
- For a first mechanical build: choose a pre-machined kit with a clear exploded diagram, moderate part count, and no live flame.
- For classroom explanation: prioritize visible valve, piston, crank, and flywheel motion over scale realism.
- For an experienced hobbyist: confirm the exact tools, fittings, operating medium, and replacement-part availability before ordering.
- For a marine project: verify shaft direction, mounting footprint, coupling diameter, lubrication access, and the mass the model boat can safely carry.
Compare the current model steam engine collection. Examples with different learning goals include the RETROL beam steam engine model kit, the vertical single-cylinder working model, and the RETROL SE02 steam engine generator. Check each product page because operating method, supplied accessories, and assembly level vary.
A reliable build process
- Inventory before opening every bag. Match part numbers to the manual, photograph the trays, and keep very small fasteners in labeled cups.
- Study the motion path. On the drawing, trace cylinder to piston, piston to rod, rod to crank, and crank to flywheel. Identify every rotating or sliding interface.
- Build the rigid structure first. Confirm the base is flat. Install frame members loosely, check that they are square, then tighten in stages.
- Test shafts without load. A shaft should rotate freely before rods or valve gear are connected. If it binds, correct alignment rather than forcing it.
- Install the piston and rod. Keep sealing and bearing surfaces clean. Never use abrasive material unless the manual explicitly calls for it.
- Set crank and valve timing. Use the kit's diagram. A model can look complete but fail to run if inlet and exhaust events occur at the wrong crank position.
- Perform a slow hand-turn test. Rotate through several complete cycles. Stop at any hard point, scrape, or sudden change in resistance.
- Apply only the specified lubricant. More oil is not automatically better. Excess oil can collect debris or enter areas where the maker does not permit it.
- Run at the lowest permitted input. For a rated compressed-air model, begin with the regulator at its minimum and increase only within the manual's stated range.
Safety boundary: display, compressed air, and live steam are not the same
Do not connect pressure, a burner, or a boiler merely because the flywheel turns by hand. Use only the operating method named by the manufacturer. Never improvise a pressure vessel, block a relief path, modify a safety valve, or substitute an unapproved fuel. Keep hair, sleeves, jewelry, and fingers away from the flywheel, crank, gears, and connecting rod.
Small metal parts also require deliberate storage. The U.S. Consumer Product Safety Commission explains that products intended for children may be subject to small-parts restrictions and choking-hazard labeling. An engine model should not be treated as a young child's toy simply because it is small. Follow the product's age label and supervise according to the tools, heat, pressure, and moving parts involved.
First-run checklist
- The model matches the manual and no parts remain unexplained.
- All set screws and shaft collars are secure.
- The flywheel clears the base through a full rotation.
- The piston and valve move without a hard stop.
- Hoses and fittings are the supplied or maker-approved type.
- Eye protection is worn and bystanders are clear.
- The operator can stop the input immediately.
- A live-steam system, if explicitly supported, has been checked exactly as its separate boiler manual requires.
Troubleshooting by symptom
| Symptom | Likely checks | Do not do |
|---|---|---|
| Flywheel stops at one position | Shaft alignment, rod clearance, crank spacing, valve timing | Do not increase pressure to force it through |
| Runs only after a push | Friction, leakage, timing, insufficient permitted input | Do not exceed the manual's limit |
| Knock or repeated click | Loose set screw, excessive joint play, part touching the frame | Do not keep running until the source is identified |
| Uneven speed | Flywheel runout, binding, inconsistent input, lubrication points | Do not bend rods while assembled |
| Leak at a fitting | Correct seal, clean threads, maker-approved gasket or tape | Do not tighten hot or pressurized fittings |
Turn the build into an engineering exercise
Record evidence instead of judging the model only by whether it runs. Mark the crank angle at which the piston changes direction. Count flywheel revolutions after a consistent hand impulse. Note where friction changes after one alignment adjustment. Draw the inlet and exhaust path. These observations connect a kit to the engineering practices of modeling, testing, analyzing data, and refining a solution.
For historical context, ASME's steam-engine landmarks show how valve control and rotary mechanisms evolved in working machinery. For a broader thermal comparison, the U.S. Department of Energy describes how a Stirling engine uses a heated working fluid to produce piston and crankshaft motion. Comparing external-combustion mechanisms helps a learner separate the heat source from the way mechanical work is produced.
Frequently asked questions
Can a model steam engine run on compressed air?
Only if the manufacturer identifies compressed air as an approved operating method and states the connection and pressure limits. Use a regulator and begin at the lowest permitted setting.
Is a live-steam kit suitable for a beginner?
A first-time builder should begin with a hand-turned or maker-approved compressed-air mechanism. Live steam adds hot surfaces, pressure, water, and sometimes fuel. It should be approached only with suitable equipment, an experienced adult, and the exact boiler and engine manuals.
Why does a finished model bind?
Common causes are misaligned bearing supports, a rod rubbing the frame, a flywheel or collar positioned too close to a support, debris on a sliding surface, or incorrect valve timing. Disconnect one motion stage at a time to isolate the source.
Should every fastener be fully tightened at once?
No. Structural parts are usually aligned while fasteners are still slightly loose, then tightened gradually. Follow the kit sequence because some assemblies require a specific order.
Next step: compare the steam engine kits by assembly level and operating method, then read the exact product manual before selecting accessories.
3 Comment(s)
1
1
1
1
1
Leave a comment