

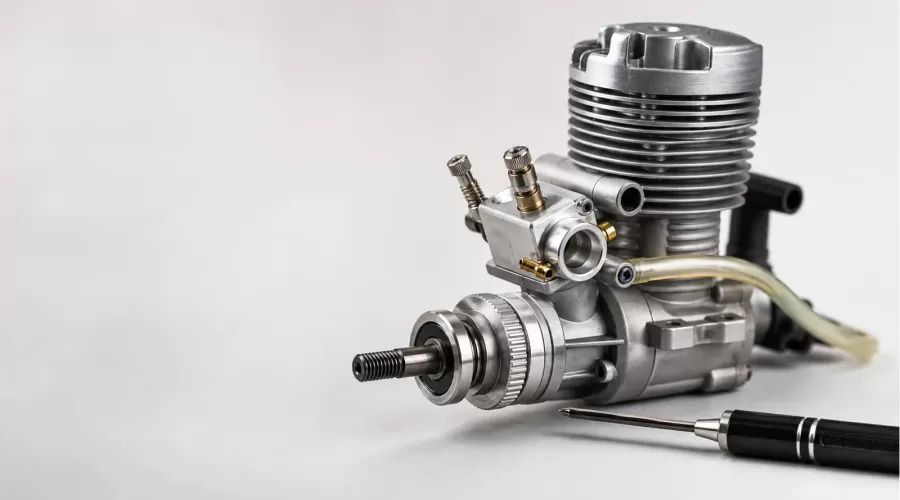
Updated July 26, 2026. Model engine carburetor tuning is not a search for one magic needle position. It is a controlled diagnosis: confirm the engine and fuel, remove mechanical faults, return to the manufacturer's baseline, warm the engine, identify which throttle range is wrong, and change only the control that meters that range.
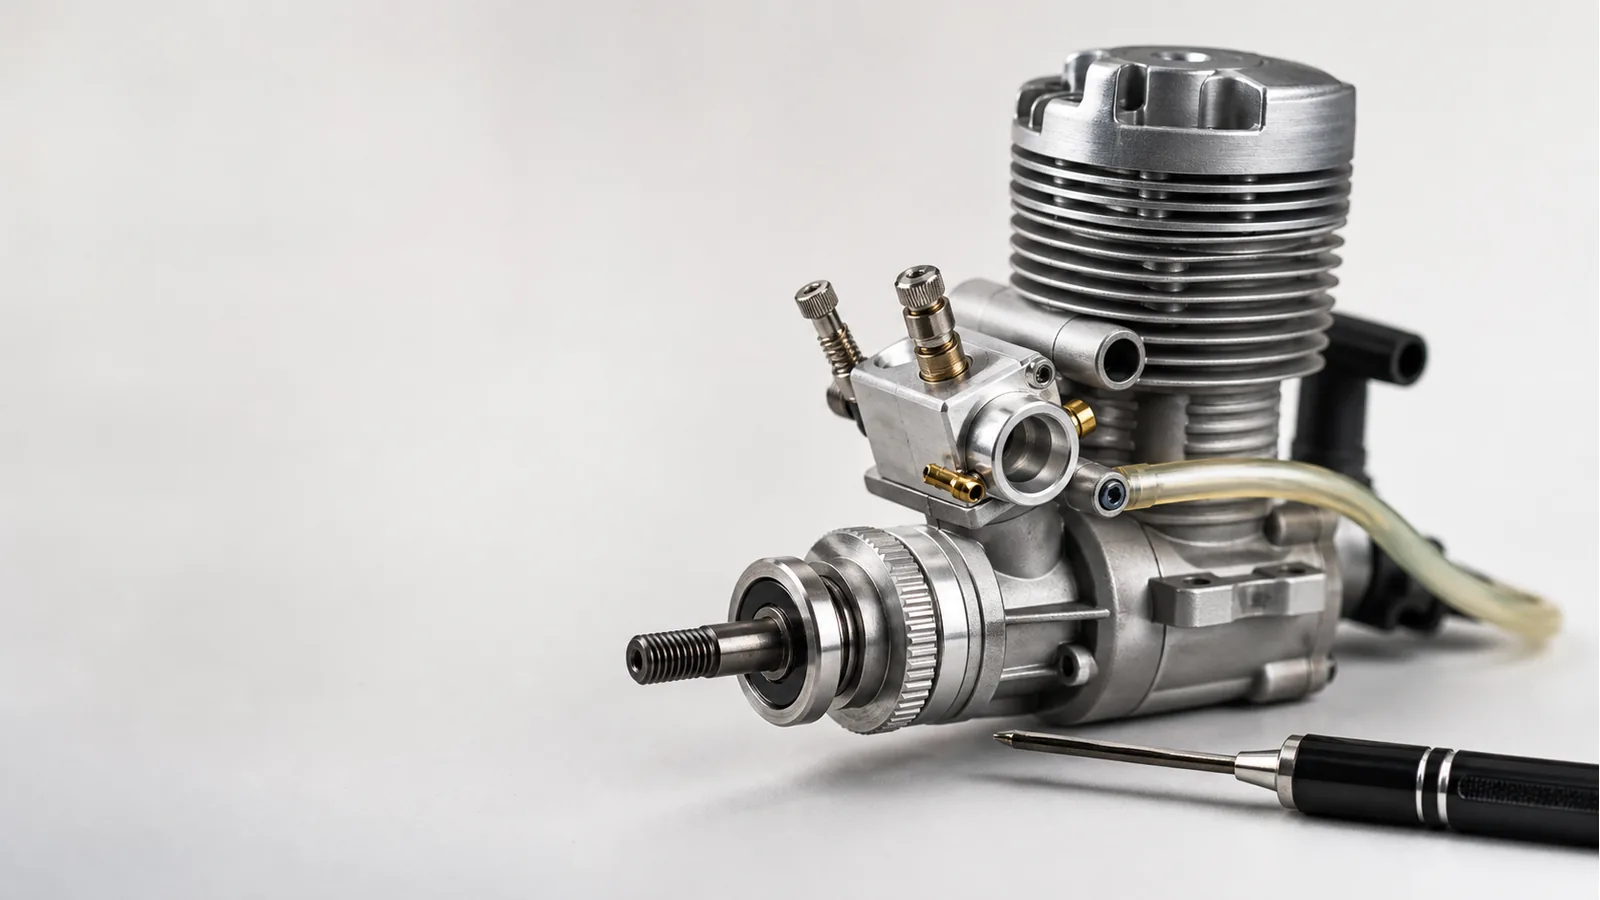
Original EnginesDIY editorial illustration. It shows a generic, stationary model engine for diagnostic context; it is not a needle-setting diagram for a specific model.
Quick answer
Start rich, tune warm, and use the exact manual. A rich mixture contains more fuel relative to the available air; a lean mixture contains less. Rich and lean symptoms can overlap because a blocked line, air leak, wrong plug, excessive load, poor cooling or incorrect idle opening can imitate a carburetor error. Do not move both needles to chase one symptom.
- Before tuning: verify fuel, plug, propeller or drivetrain load, tank vent, tubing, filter, throttle linkage, cooling and the documented factory settings.
- At high throttle: the main or high-speed needle normally dominates, but only the manual establishes the actual circuit and direction.
- At idle and transition: the low-speed mixture control and throttle-stop setting interact. Set the high-speed circuit first when the manual says so.
- Safety boundary: adjust from a protected position outside the rotating plane, operate outdoors, and stop if the engine overheats, loses lubrication, vibrates or behaves unpredictably.
Why rich and lean symptoms are often misdiagnosed
A carburetor meters fuel into an air stream; the resulting charge is compressed and burned. The FAA Pilot's Handbook chapter on aircraft systems explains the same basic relationship in full-size reciprocating engines: spark-ignition engines burn a premixed fuel-air charge, and mixture control changes the proportion of fuel to air. Miniature engines apply that principle with much smaller passages, lower fuel volumes and model-specific carburetors.
The diagnostic difficulty is that mixture is only one part of the system. A leaking fuel line can introduce bubbles. A blocked tank vent can reduce flow as the run continues. An intake leak can add unmetered air. A dirty filter can restrict air. A damaged glow plug or weak ignition battery can cause misfire that sounds rich. An oversized propeller, tight drivetrain or poor cooling can increase temperature without any needle having moved.
That is why sound, smoke, temperature and throttle response are evidence, not verdicts. Use several observations together and compare them with the manufacturer's manual. A recent NitroRC community discussion about sound-led diagnostics is useful demand evidence: beginners and experienced users still want help distinguishing rich and lean sounds. It is not a replacement for an engine manual.
The four-layer diagnostic framework
The most reliable workflow separates the problem into four layers. Do not reach layer four until the first three pass.
| Layer | What to verify | Why it matters | Decision |
|---|---|---|---|
| 1. Identity | Exact model, fuel, oil content or ratio, plug, carburetor and manual revision | Needle directions, baselines and sequences are not universal | Stop if identity is uncertain |
| 2. Supply | Fresh fuel, tank vent, pressure line where used, pickup, tubing, filter and leak-free joints | A supply fault changes mixture without a tuning error | Repair before adjusting |
| 3. Engine and load | Compression, plug or ignition, cooling, exhaust, throttle linkage, propeller or drivetrain | Misfire, overheating and excess load imitate mixture faults | Correct the system fault |
| 4. Metering | Factory baseline, warm engine, one circuit and one small change at a time | Controlled changes preserve cause and effect | Log every adjustment |
This framework is deliberately stricter than many short tutorials. O.S. places fuel, glow plug, installation, mixture controls, starting, running-in and troubleshooting in one sequence in the official 120AX instruction manual. The structure itself is evidence that tuning should not be isolated from hardware and operating conditions.
What the carburetor controls actually do
Many model carburetors have a high-speed or main needle, a low-speed mixture control, and an idle-stop screw. Some have only a main needle and an air-bleed or other arrangement. Gasoline carburetors may use high- and low-speed needles with a narrow useful range. Names that look familiar do not prove identical behavior.
- Main or high-speed needle: usually has the greatest influence when airflow and fuel demand are high.
- Low-speed mixture control: shapes idle and the first part of throttle transition on carburetors that include it.
- Idle-stop screw: sets the minimum throttle opening; it does not directly substitute for mixture correction.
O.S. instructs users to make small changes and wait for the engine speed to respond in its 55AX manual. That pause matters: an immediate second change can overshoot the useful range before the first change is observable. The Saito four-stroke gasoline-engine manual also treats carburetor settings, fuel, load, break-in and heat transfer as linked model-specific variables.
Rich vs lean model engine symptoms
| Observation | Rich is plausible when | Lean is plausible when | Other causes to exclude |
|---|---|---|---|
| Starting | Engine floods, plug is wet, repeated firing does not sustain | Engine fires only with priming or added fuel, then stops | Bad plug, weak starter, poor compression, wrong fuel |
| Idle | Speed gradually loads up, exhaust is wet, response is dull | Idle races, hangs or stops abruptly after a throttle change | Idle gap, clutch drag, throttle linkage, air leak |
| Acceleration | Engine burbles or clears slowly as excess fuel is burned | Engine hesitates sharply, sags or cuts when demand rises | Fuel pickup, vent, exhaust pressure, plug, load |
| High throttle | Lower speed, heavy exhaust residue or an uneven note | Thin lubrication/smoke signal where applicable, high-pitched note, power loss as heat builds | Wrong propeller/gearing, cooling, tank position, restriction |
| Temperature | May run cooler, but a very rich or overloaded engine can still become hot | May heat rapidly because fuel and lubricant delivery are reduced | Ambient conditions, cooling path, friction and load |
The table is a hypothesis map, not a universal test. Smoke varies with fuel and lubricant. Temperature targets vary by engine, measuring point, load and manufacturer. Do not adopt a temperature number from an unrelated car, aircraft or engine family.
A safe tuning sequence
- Read the exact manual. Record the named fuel, oil content or premix ratio, plug, load and factory needle settings. Photograph or write down the starting positions.
- Inspect cold. Check the tank, cap, vent, pickup, tubing, filter, carburetor attachment, intake seals, exhaust connection, cooling path, fasteners and throttle linkage.
- Return to the documented baseline. Never force a needle against its seat. If the baseline is unknown, obtain the correct manual or manufacturer support before running.
- Secure the engine and clear the operating area. Keep tools, clothing, leads and spectators away from rotating parts. Make adjustments only from the protected side specified by the manufacturer.
- Start rich and complete break-in. A new engine's manual may require a richer setting, staged loads and cooling cycles. Performance tuning before break-in can invalidate every observation.
- Warm the system. Tune only after the engine, exhaust and drivetrain reach a stable operating condition. A cold engine can need a different mixture.
- Set the high-speed circuit first if instructed. Approach the best response from the rich side in small documented increments, allowing time between changes. Preserve a safety margin rather than chasing peak speed.
- Then tune idle and transition. Use the manual's test and order. Do not cover a low-speed mixture error by opening the throttle stop until the clutch or driven system engages.
- Recheck the full range. A low-speed change can affect transition; a main-needle change can alter fuel pressure and temperature. Repeat the complete response check.
- Log the final condition. Record fuel, plug, ambient temperature, approximate altitude, load, needle changes and observed behavior. The log turns future tuning into comparison rather than memory.
If you are selecting a running engine rather than diagnosing one, start with the RC engine models category. The VRX VX18 two-stroke nitro engine, TOYAN FS-L200AC inline-twin nitro kit and SEMTO ST-NF2 twin-cylinder nitro model illustrate why the exact manual and installation chain matter more than a generic tuning number.
How to diagnose by throttle range
Idle only: first confirm the throttle plate or barrel closes to the manual's opening and that the clutch or load is not dragging. If the idle slowly deteriorates while exhaust residue builds, a rich low-speed setting is plausible. If the speed hangs after a throttle blip, a lean condition or air leak is plausible. Test the supply and intake before turning the low-speed control.
Transition only: a clean idle with a stumble when the throttle opens points toward the transition circuit, but also check whether the main circuit begins flowing correctly. Change one variable and retest from the same starting condition.
High throttle only: inspect fuel flow under demand, tank venting, pressure plumbing where applicable and drivetrain or propeller load. A lean high-speed setting can lose power as heat rises; a rich setting can sound uneven and fail to clear. Either can stop an engine, so "it died at full throttle" is not a complete diagnosis.
All throttle ranges: suspect shared causes before two simultaneous needle errors: wrong fuel, contaminated fuel, blocked filter, damaged plug, poor compression, intake leak, exhaust fault or mechanical load.
Why temperature is a guardrail, not the tuning target
Temperature is useful because a trend can warn that conditions are moving away from a stable baseline. It is not enough to identify mixture on its own. Cooling airflow, cylinder-fin obstruction, water flow on liquid-cooled models, ambient temperature, friction, load, timing and sensor location all change the reading.
The Saito gasoline manual emphasizes proper heat transfer and correct mounting; the FAA handbook describes air- and liquid-cooled engine arrangements as distinct systems. Therefore, use only the model-specific limit and measuring method. If the manual gives none, do not invent one from a forum. A safer diagnostic record combines temperature trend with sound, smoke or residue where applicable, throttle response, plug condition and fuel consumption.
Fuel, exhaust and rotating-part safety
Combustion model engines must be operated outdoors. CDC/NIOSH warns in Preventing Carbon Monoxide Poisoning from Small Gasoline-Powered Engines and Tools that carbon monoxide can accumulate in enclosed or partially enclosed spaces. Opening a door or using a fan is not a substitute for locating the engine outside and away from air intakes.
Fuel is also a fire and exposure hazard. OSHA's flammable-liquids standard identifies ventilation, ignition sources, storage and approved containers as primary controls. Local hobby use is not automatically governed by every workplace provision, but the hazard principles remain relevant: label compatible containers, prevent spills, keep ignition sources away, and allow hot parts to cool before refuelling.
O.S. and Saito manuals warn that model engines are not toys. Propellers, flywheels, clutches and couplers can throw parts or pull in loose items. The Saito twin-cylinder four-stroke manual specifically instructs operators to make carburetor adjustments from behind the propeller and keep hands away. Use eye protection, a secure test stand and a second competent adult when the manual or installation requires it.
Matched hardware is part of safety. Browse starting and ignition accessories or mount, fuel and exhaust components only after identifying the exact engine. A nearby listing is not proof of compatibility.
When not to touch the needles
- The engine model, fuel or factory baseline is unknown.
- Fuel contains water, debris or an unverified oil/nitro percentage.
- The tank will not vent, tubing contains bubbles or an intake joint leaks.
- The plug, ignition supply, compression or timing is suspect.
- The propeller, clutch, flywheel, coupler or mount is damaged or loose.
- Cooling is obstructed or the engine temperature is rising abnormally.
- The engine is new and the specified break-in is incomplete.
- You cannot stand outside the rotating plane or operate outdoors.
In these cases, a needle change may hide the cause temporarily while increasing risk. Restore the system first.
Frequently asked questions
Which way makes a model engine richer?
Many needle valves richen when turned counter-clockwise and lean when turned clockwise, but this is not a universal instruction. Confirm the control, direction and baseline in the exact engine manual before moving it.
Should I tune the high-speed or low-speed needle first?
Follow the manufacturer's order. Many multi-needle model carburetors are tuned high-speed first because the main circuit establishes fuel delivery under load, then low-speed and idle transition are refined. Other carburetor designs can differ.
Does high temperature always mean the engine is lean?
No. A lean mixture is one possible cause, but insufficient cooling, excessive load, friction, timing, a blocked exhaust or a different measurement point can also raise temperature. Use the model-specific limit and combine several observations.
Can I tune by sound alone?
Sound can help identify a change, but it cannot distinguish every fuel, ignition, load or air-leak problem. Use sound with throttle response, fuel flow, exhaust evidence, temperature trend and the manual.
Why does a previously tuned engine need adjustment?
Ambient temperature, humidity, altitude, fuel batch, plug condition, tank pressure, filter condition and load can change the required mixture. A logged baseline helps separate normal correction from a developing fault.
Bottom line
Good model engine carburetor tuning is conservative engineering, not repeated screwdriver movement. Verify identity and supply, remove mechanical and ignition faults, tune a warm engine from the documented rich baseline, change one circuit at a time, and preserve a safety margin. The result should be repeatable response across the operating range, not merely the highest momentary speed.
References
- O.S. Engines - 120AX instruction manual
- O.S. Engines - 55AX instruction manual
- Saito / Horizon Hobby - four-stroke gasoline engine manual
- Saito / Horizon Hobby - twin-cylinder four-stroke instruction manual
- Federal Aviation Administration - Pilot's Handbook, Chapter 7
- CDC/NIOSH - Preventing Carbon Monoxide Poisoning from Small Gasoline-Powered Engines and Tools
- Occupational Safety and Health Administration - Flammable liquids
Leave a comment