

Quick answer: Set a model steam boiler's water level only by its own maker's instructions, with the boiler fully cold and depressurized. Before heat is applied, confirm that water is visible in a working sight glass, that the safety valve has not been altered, and that the boiler, burner and fuel system match a known model. During a first steam-up, use small control movements and expect some cold condensate. Stop the heat if the water level disappears, the reading becomes uncertain, a leak develops, or the engine repeatedly locks. An unknown or uncertified boiler should be inspected by a competent model-boiler inspector before it is fired.
Key takeaways: there is no universal “three-quarters full” rule; visible water and usable steam space are both necessary; a cold steam line can discharge condensate without the boiler being overfilled; persistent water carry-over after warm-up needs investigation; and a sight glass can mislead when bubbles, blockage or poor lighting are present. The safe operating window is bounded by visible water below, dry steam space above, and the exact boiler maker's instructions.
Reviewed: August 29, 2026. This guide synthesizes official instructions from Wilesco, Roundhouse Engineering and Accucraft UK, UK HSE research, and recognized model-boiler test-code material. The exact boiler manual, certificate and local club rules take priority.
The rule that comes before any model steam boiler fill level
Do not borrow a water-level number from another engine. Small stationary toy-steam plants, internally fired locomotive boilers, marine boilers and larger club-operated boilers differ in boiler geometry, heat source, working pressure, feed arrangement and sight-glass layout. Even two reputable manufacturers may specify different cold-fill methods. One may provide a measuring cup or syringe; another may give a sight-glass target; a locomotive with an axle pump may expect the operator to maintain a moving level during the run.
Wilesco's instructions for its D16 family require enough water to remain in the boiler and describe a minimum visible level in the gauge glass. Accucraft's 5MT manual gives a different model-specific starting target. Roundhouse's Leek & Manifold instructions discuss another operating range and warn that bubbles can create a misleading gauge reading. These are not contradictory instructions. They describe different systems. The safe conclusion is that the model identity and manual must be established before the fill quantity is selected.
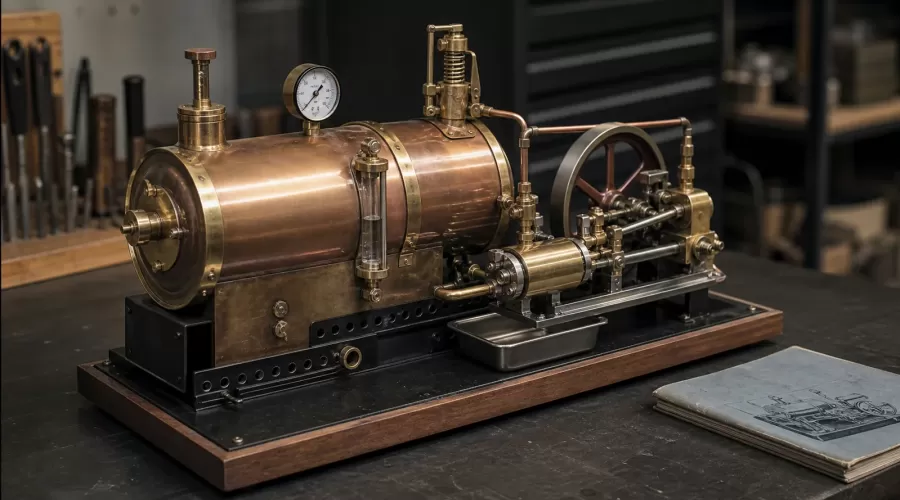
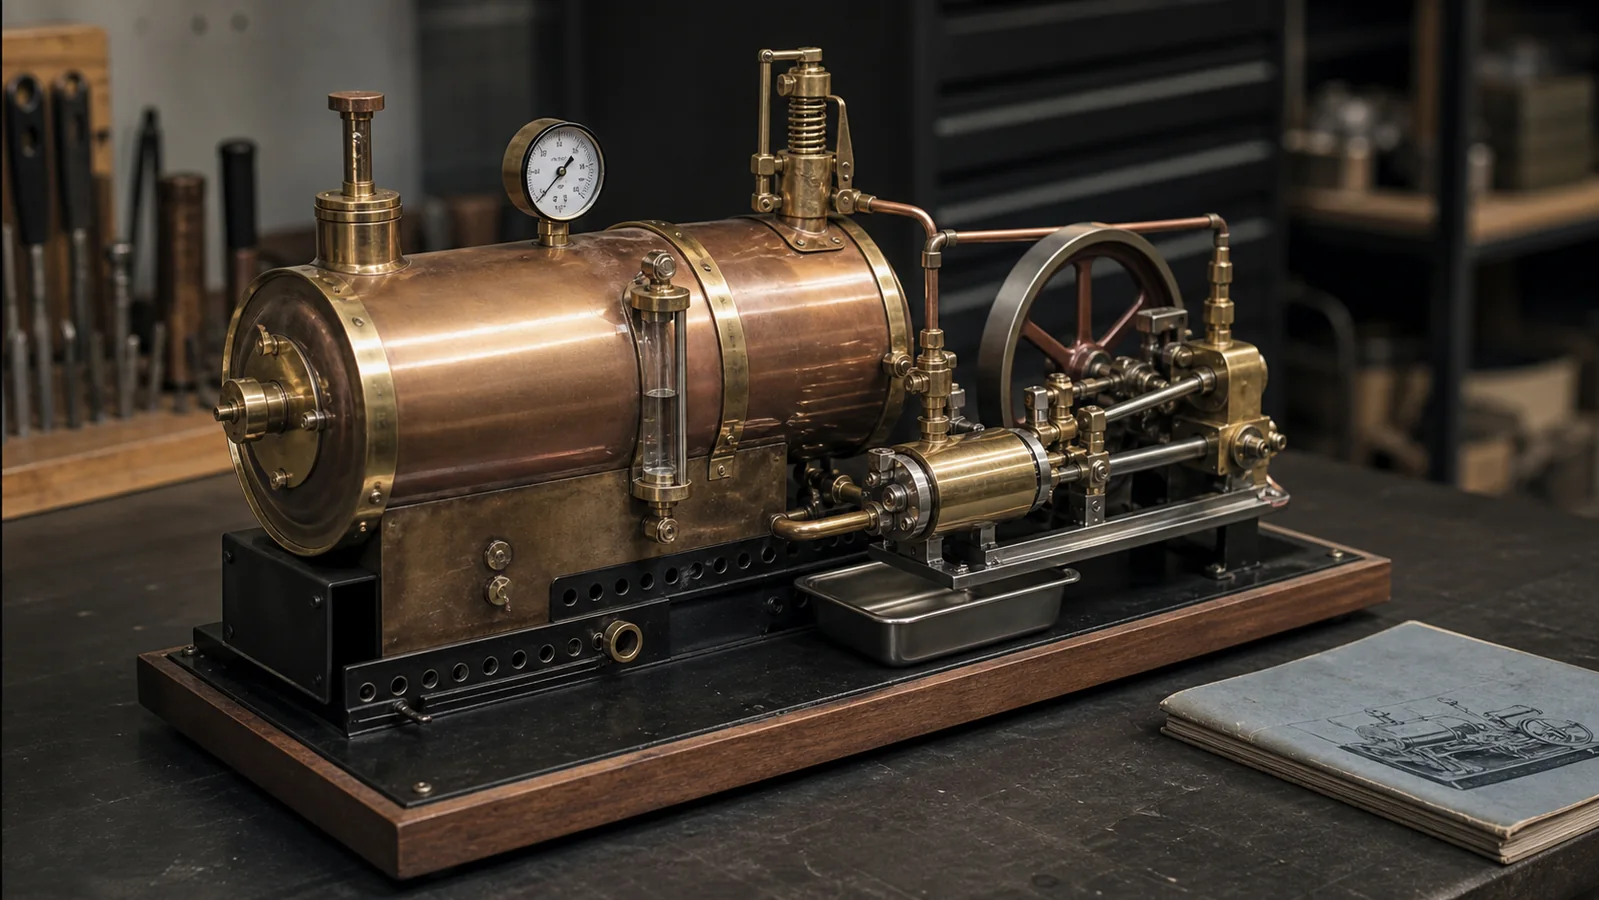
If the boiler is unknown, homemade from unidentified materials, missing its pressure rating, visibly repaired, or separated from its certificate, do not “see if it works.” A return-to-service decision belongs with a competent model-boiler inspector or an established model-engineering club. Browse known, documented model steam engines and live-steam boiler models to understand how much the layouts vary, but do not use a product photograph as a substitute for the manual.
Why water level and steam space both matter
The boiler transfers heat into liquid water. Steam forms at the water surface and collects in the space above it. A level that is too low risks exposing heated metal that the design expects to remain water-cooled. A level that is too high reduces the steam space and makes liquid droplets more likely to travel into the steam outlet. That carry-over is commonly called priming.
Priming is not simply “water in the exhaust.” At the beginning of a cold run, the cylinder, steam pipe and displacement lubricator are below steam temperature. Incoming steam condenses against those surfaces. Roundhouse's Sammie/Bertie instructions explain that this initial condensate can make a locomotive run jerkily or temporarily lock. The recommended pattern is gentle: keep the regulator closed if the mechanism locks, move the engine only as the maker permits, and use small regulator openings while the system warms. Forcing a flywheel or opening the regulator wide does not cure a water-filled cylinder; it increases mechanical and scalding risk.
Persistent spitting after warm-up is different. Possible causes include an excessively high water level, foaming or contaminated water, an inaccurate sight-glass reading, violent boiling, an unsuitable firing rate or a steam takeoff that is collecting water. Diagnose the state before changing multiple variables. The broader model steam engine troubleshooting guide covers mechanical binding, steam leaks and poor running beyond this water-state question.
How this guide evaluated evidence
Manufacturer manuals were used for operating sequences because the maker knows the boiler geometry and fuel system. The UK Health and Safety Executive's RR1177 report was used to understand evidence limits and hazard patterns in representative model systems. The Australian Miniature Boiler Safety Committee index and Model Engineering Liaison Group test-code material were used to define the boundary between owner operation and formal inspection or pressure testing.
This hierarchy matters. HSE's study involved a limited number of designs, so it cannot establish one universal fill level. It does, however, show why a manufacturer-provided measuring method should be followed and why the burner and fuel deserve the same attention as the pressure vessel. Likewise, a test code can explain why an independent competent inspector is needed, but an article cannot certify a boiler or replace the current code adopted by a local club.
A safe first-steam workflow
1. Identify the complete system
Record the maker, model, boiler number if present, burner type, specified fuel, working pressure, safety-valve arrangement and feed method. Find the exact current manual. If a locomotive, boat or stationary plant was assembled from separate parts, confirm that the boiler, burner and engine are a documented combination. Unknown history is a stop condition, not an invitation to estimate.
2. Establish inspection and certificate status
For a club-scale, owner-built, older or previously repaired boiler, ask the applicable club or inspector what documentation and tests are required. Do not improvise a compressed-air test or copy a pressure value from a forum. Recognized test codes place inspection and testing with competent people using controlled procedures and suitable equipment. If the system is a small factory-made toy, follow its manual and local rules; age, damage or modification can still justify professional inspection.
3. Inspect cold, clean and unpressurized
Work in good light on a level, fire-resistant surface. Look for damaged solder joints, corrosion, scale around fittings, cracked or cloudy gauge glass, loose plumbing, damaged seals, a bent burner, blocked exhaust paths, oil or fuel contamination and evidence that the safety valve has been adjusted. Check that the burner can be removed or shut down exactly as the instructions describe. Do not dismantle a safety valve merely to satisfy curiosity.
4. Fill by the model-specific method
With the boiler fully cool, use the water type, fill port and measured quantity specified by the maker. If a sight glass is the reference, make sure it communicates with the boiler and that the level settles. Do not top up a hot, pressurized boiler unless the model has a designed feed system and the manual explicitly describes its use. Wilesco instructs operators to check water before adding fuel and never heat the boiler dry.
5. Prepare lubrication and condensate control
Use the correct steam oil in the intended lubricator; ordinary light machine oil is not a universal substitute. The model engine lubrication guide explains viscosity and application boundaries. Position a stable tray where the exhaust or cylinder drain can discharge without spraying people, electrical items or the burner. Turn the mechanism by hand only if the manual permits it and no hydraulic resistance is present.
6. Apply controlled heat
Use only the specified fuel and quantity. Provide ventilation, keep combustibles away and maintain a clear route to turn off or remove the heat source. Never leave the engine unattended. Watch the gauge glass, joints and burner while pressure rises. A pressure gauge supports observation; the safety valve remains the automatic pressure-limiting device and must not be held down, tightened or defeated.
7. Warm the steam path gently
Open cylinder drains if fitted and if the manual says to do so. Crack the regulator gradually. Expect initial condensation in a cold engine and keep hands away from the discharge. If the engine stops against an incompressible load, close the regulator. Do not force the flywheel, connecting rod or wheels. Allow pressure and temperature to stabilize, then follow the maker's clearing procedure.
8. Monitor the operating window
The level should remain observable and within the model's specified range. Note whether the reading is stable when the engine is stopped briefly and the boiler is level. On fitted feed systems, add small amounts only as designed; Roundhouse's Leek & Manifold manual, for example, favors small frequent feeds for that model. If there is no designed way to replenish water, the run must end before the safe reserve is consumed. Never add extra fuel merely because the engine still turns.
9. Shut down, cool and inspect again
End the run using the manual's burner and regulator sequence. Keep the engine in a safe place until pressure has fallen and metal is cool. Do not open a fill plug under pressure. After cooling, look for new leaks, loose fittings, contaminated water or unusual deposits. Dry and preserve the plant as instructed. Suitable model workshop tools help with routine care, but safety-valve adjustment and boiler repair remain specialist work.
How to distinguish cold condensate from boiler priming
Timing is the first clue. A brief discharge of water immediately after steam reaches a cold cylinder is often condensate from the pipe and cylinder. It should diminish as the metal warms. Repeated heavy slugs, a mechanism that locks again after warm-up, or continuous water at the exhaust point toward an ongoing carry-over problem. A sight glass near the top of its range, a level that jumps with bubbles, recent overfilling or contaminated boiler water strengthens that diagnosis.
The safe response is the same at the first sign of hydraulic resistance: close the regulator and stop adding heat if the condition is not clearing normally. Let the system settle. Recheck the gauge only from a safe viewing position. Do not loosen a hot fitting to “bleed off” water. Do not place a face or hand over an exhaust, drain, fill port or safety valve.
When the sight glass may be wrong
A gauge glass works only when its upper and lower connections communicate with the boiler and the glass contains a true water-steam interface. Bubbles, scale, blocked passages, a tilted boiler or reflected workshop light can create a false impression. Roundhouse specifically notes bubbles in the gauge on one system. A reading that does not respond normally as the plant warms, cools or receives designed feedwater should be treated as uncertain.
Do not tap or loosen a hot glass. Stop the run and allow the boiler to cool. Clean and inspect it according to the manual. Replace damaged glass, seals and guards with approved parts. If the communication passages may be blocked, have the system serviced before firing again. Small educational steam engine science kits are useful for learning the cycle, but their procedures do not override those of a pressurized live-steam boiler.
Symptom-to-action decision table
| Observed state | Likely mechanism | Immediate action | Continue? |
|---|---|---|---|
| Brief water at exhaust only during cold start | Condensation in cold pipe and cylinder | Use drains and small regulator movements exactly as the manual directs | Only if it clears normally |
| Repeated locking or heavy water after warm-up | Priming, high level, foaming or drainage fault | Close regulator, stop heat safely and investigate after cooling | No |
| Water level disappears below the gauge | Low water or failed indication | Remove/shut off heat by the maker's procedure | No |
| Gauge is full, bubbly or unresponsive | Overfill, blocked connection or false reading | Stop and allow complete cooling before service | No |
| Steam or water leaks from a joint | Seal, fitting or boiler defect | Shut down; keep clear; obtain inspection | No |
| Safety valve does not lift as documented | Sticking, alteration or wrong pressure behavior | Stop heat; do not adjust under pressure | No |
| Stable visible level, normal valve and smooth warm running | Expected operating state | Continue monitoring water, fuel, flame and exhaust | Within the manual's limits |
Hard stop conditions
- The boiler make, pressure rating, fuel or service history is unknown.
- Required inspection or certification cannot be confirmed.
- Water is not visible, the gauge reading is uncertain, or the glass is damaged.
- A soldered joint, fitting, pressure gauge or safety valve leaks or behaves abnormally.
- The safety valve has been wired, weighted, tightened or otherwise altered.
- The engine repeatedly locks, throws hot water or continues priming after warm-up.
- The burner cannot be controlled, fuel leaks, ventilation is inadequate, or combustibles cannot be cleared.
For boat installations, confined layouts add ventilation, drainage and access concerns; compare purpose-built marine steam engines and boilers, then follow the installed system's own documentation. For every layout, shutting down early is cheaper than using pressure or heat to prove a theory.
Limits, fuel and hot-surface safety
This guide is an operating decision aid, not a construction drawing, repair procedure, certification or pressure-test instruction. Boiler materials, soldering, stays, pressure relief and testing require specialist knowledge. HSE's investigation also reminds operators that miniature-steam injuries can arise from fuel and flame, not only pressure. Use the specified burner, refill it only when permitted and cool, keep fuel containers away from hot equipment, and provide ventilation appropriate to the fuel.
Every metal part may remain hot after pressure falls. Supervise children continuously and keep spectators out of the exhaust and safety-valve paths. Wear eye protection where the maker or club requires it. Keep an appropriate fire response available, but do not improvise one around an unfamiliar fuel. If any instruction conflicts with this general guide, stop and follow the exact maker or qualified inspector.
Frequently asked questions
How full should a model steam boiler be?
There is no universal percentage. Use the exact model's measured fill or sight-glass target. The boiler needs both protected water-covered heating surfaces and enough steam space to reduce carry-over.
Can I fire the boiler if the water is just below the sight glass?
No. A missing level may mean genuinely low water or a failed indicator. Shut off or remove heat as the manual directs and wait for complete cooling before checking or refilling.
Why does water come out of the exhaust at first?
Steam condenses in a cold pipe and cylinder. A small initial discharge that clears during gentle warm-up can be normal. Persistent slugs or repeated locking after warm-up are not normal and require shutdown and diagnosis.
Can I top up a hot model boiler through the filler plug?
Not unless the maker explicitly designed and documented that operation. Opening a pressurized filler is hazardous. Boilers with pumps or injectors have model-specific feed procedures; otherwise cool and depressurize before filling.
Should I test an old boiler with compressed air?
Do not improvise a pneumatic test. Unknown, old, repaired or club-scale boilers should be examined and tested under the current applicable code by a competent inspector using controlled equipment.
Can I adjust the safety valve if the pressure seems low?
No. Do not tighten, weight, hold down or otherwise alter the safety valve during operation. Low pressure can have many causes. Shut down and have the complete system checked against its manual.
Does distilled water prevent priming?
Water quality can affect scale and foaming, but it does not replace the correct fill level, clean boiler, stable firing rate and working gauge. Use only the water type specified by the maker.
Conclusion
A safe first steam-up is a sequence of verified boundaries: identify the boiler, confirm its inspection status, fill it cold by the maker's method, control heat, warm the steam path gently and stop whenever water indication or pressure behavior becomes uncertain. The goal is not to keep the engine running at any cost. It is to preserve visible water, usable steam space and full control of fuel, heat and pressure.
References
- Wilesco D16/D161/D165 operating instructions
- UK HSE RR1177: Safety of model steam boilers
- Australian Miniature Boiler Safety Committee Code Part 3 index
- Roundhouse Sammie/Bertie operating instructions
- Roundhouse Leek & Manifold operating instructions
- Accucraft UK 5MT operating instructions
- Model Engineering Liaison Group boiler test code
Leave a comment