

By EnginesDIY Editorial Team | Published and reviewed October 2, 2026
Quick Answer
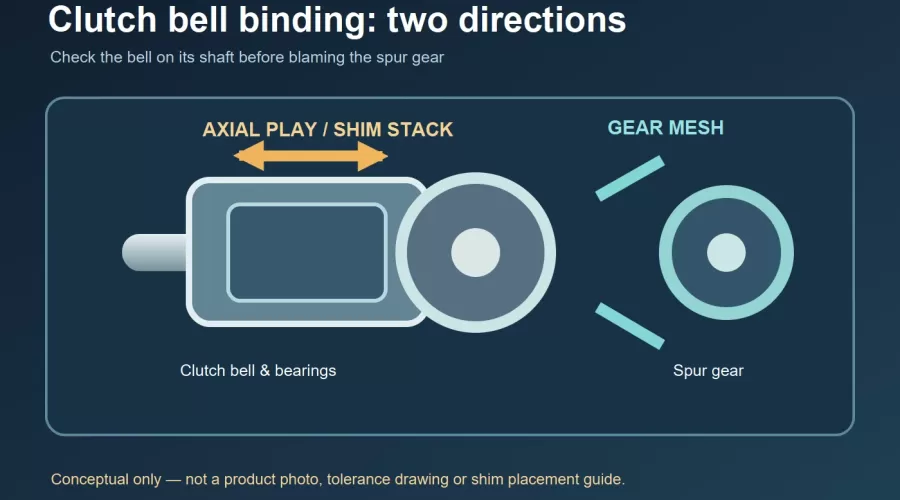
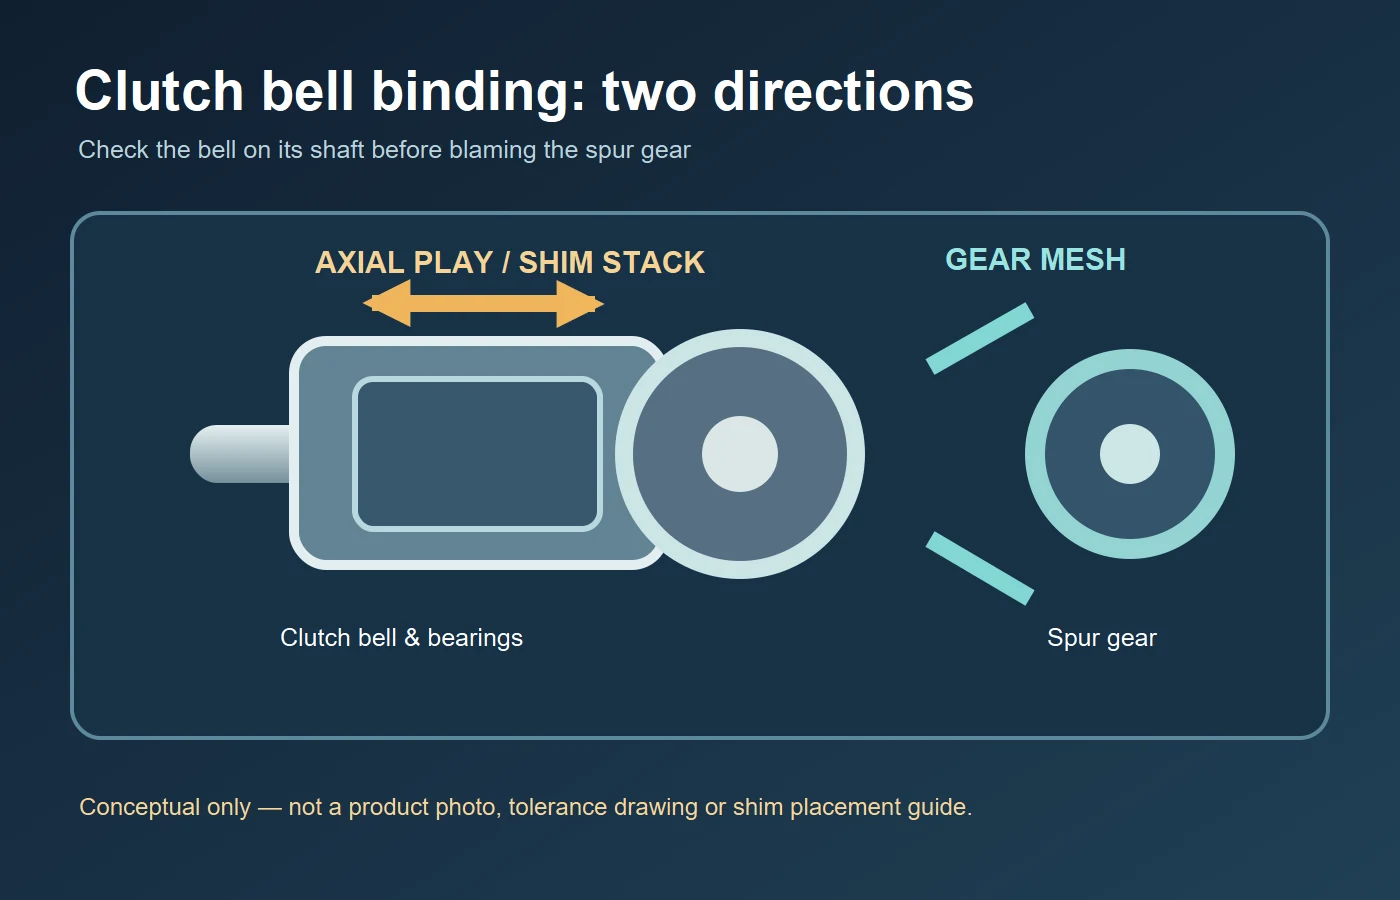
If a nitro RC clutch bell will not rotate freely with the engine off, separate bell-on-shaft drag from clutch-bell-to-spur-gear mesh before changing the engine position. Make the vehicle incapable of starting, let the bell cool, and follow the exact kit manual. A bell that binds even when it is clear of the spur points toward the bell's bearing, washer, shim, screw or clutch-shoe assembly; a bell that moves freely alone but tightens when the gears touch points toward mesh, alignment or a damaged gear. Neither pattern proves one failed component, and there is no universal axial-play number for every nitro clutch.
The B-E-L-L record separates bell-only rotation, end-play, load from the spur and the last change. It is a repeatable observation sequence, not an instruction to dismantle an unknown assembly. The distinction matters because moving the engine to fix a bell pinched between washers may create poor gear mesh, while adding a shim to fix tight mesh may leave the real spur contact unchanged. Do not run the engine, force a locked bell, or adjust a clutch near a hot flywheel.
Key takeaways
- Axial bell movement is along the crankshaft; gear mesh is contact between clutch-bell and spur teeth. They are related but not interchangeable adjustments.
- A known kit's shim diagram and washer order outrank a generic numerical target or a video of another chassis.
- Check free bell rotation with ignition disabled before asking the bell to drive the spur, if the maker allows this isolation.
- Inspect bearing seating, cleanliness, screw length and shoe/spring interference before blaming mesh alone.
- Recheck the entire spur revolution after an authorized mesh adjustment; one tight sector can hide in a single-position check.
- Stop for a hard bind, missing bearing, damaged teeth, loose fastener or unknown shim stack.
Two different directions of drag
At the engine, a centrifugal clutch uses shoes and springs around a flywheel. As engine speed rises, the shoes press against the inside of a bell, which turns a spur gear and the drivetrain. At idle the bell should behave as the vehicle's clutch design specifies; it should not be jammed because a retaining fastener squeezes the bearings or because the spur teeth have no working clearance. The Team Associated tuning explanation describes the bell's role, but the assembly order must be taken from the manual for the actual model. An externally similar clutch may use a different bearing, shim, collet, screw or washer.
Axial drag occurs along the crankshaft axis. The bell and its bearings may be clamped between a crankcase-side shoulder and an outer washer, or a shoe or spring may interfere with the bell interior. A bearing can also be gritty, cocked, damaged or missing. The Team Associated RC8B3.1 kit manual specifically tells builders to use a supplied small shim to increase end play when its assembly does not spin freely, and it shows where its own parts belong. That is a model-specific design answer, not a rule to add a shim to every nitro bell. In some designs an added shim in the wrong place can make the clamp tighter.
Gear-mesh drag occurs where the bell teeth meet the spur. With the engine mount moved too close, the two gears can run tight or bind at a sector. With the mount too far away, teeth may chatter, skip or strip. The Traxxas nitro-model mesh instructions describe its paper-strip method while sliding the engine mount. That procedure sets gear contact for the described Traxxas layout; it cannot cure a bell whose own bearings are pinched while the gears are separated. The prior engine mounting and shimming guide focuses on installing the engine squarely, before the bell is meshed. Use it for mount geometry after checking the bell-only condition.
A third possibility is internal clutch contact. A shoe spring installed out of order, a shifted shoe, debris or oil inside the bell may affect how the bell rotates and engages. The Team Losi Racing 8IGHT-X Elite guide calls for a free-spinning bell and clean clutch surfaces, and gives its own axial movement target. Team Associated publishes a different, kit-specific assembly and target. These values demonstrate why the exact model matters: do not average them, choose whichever sounds familiar, or apply a racing buggy's setting to a two-speed on-road clutch. The Kyosho two-speed instructions include a response when their clutch bell locks and expressly require adjustments with the engine stopped. They do not prescribe universal shim placement.
The drivetrain can contribute further drag. If the bell turns normally alone, but the spur or driven gearbox resists even when the engine is disengaged, the bell may not be the original fault. A damaged tooth, warped spur, bearing in the center transmission or incorrectly assembled slipper can create a tight spot. Avoid jumping straight to a new clutch because the engine stalls or the wheels creep. The HPI Racing maintenance guide treats cleanliness and binding checks across the nitro vehicle, reinforcing that a drivetrain symptom should be localized before a part is replaced.
The B-E-L-L record: isolate before adjusting
B — Bell-only rotation with the engine unable to start
Make a static inspection safe first. Switch the model off, disable ignition or glow power, prevent the starter from operating, remove fuel-related ignition hazards, support the chassis as directed by the manufacturer and wait until the clutch bell and exhaust are fully cool. Keep the propeller or flywheel, if present, still. Never wear loose sleeves around moving gear teeth. Do not use a powered starter to "break free" a tight clutch.
Locate the bell and spur in the actual diagram. If the vehicle's manual permits an engine-off check with the gears separated, observe whether the bell rotates smoothly without driving the spur. This can be done after loosening/moving an engine mount only when the exact service instructions allow it; do not disturb an unknown slotted mount merely to complete a generic diagnostic. If the bell is tight while clear of the spur, record that as bell-side resistance. If the bell is free alone, record that too. Avoid labeling the bearing failed until a maker-approved inspection confirms it.
A free bell is not necessarily silent or frictionless. Seals, fresh bearings and clutch architecture differ. The useful distinction is a smooth manual-specified rotation versus a hard catch, grind, wobble, or obvious clamp after the retaining screw is tightened. Note whether the symptom existed before the last service and whether it changes with the screw fully secured to the exact manual's condition. Never leave a retaining screw loose as a "fix" and then operate the engine.
E — End-play and the exact shim stack
End-play is the bell's permitted movement along the shaft, as defined by its maker. Look for the order of collet, flywheel, nut, shoe assembly, inner bearing, bell, outer bearing, shim, washer and retaining hardware in that specific manual. Those names are not a universal assembly sequence; some clutches omit or rearrange components. Record what is actually installed and photograph it before any authorized service. A small axial movement in one kit may be normal while none or excessive movement in another requires attention.
If the bell became tight immediately after replacing a screw, washer, clutch bell or bearing, the last part is valuable evidence. Confirm the correct part number, thickness and seating before adding more pieces. A screw that bottoms in a blind crankshaft hole may feel "tight" without clamping its intended stack; the screw-length and bottoming guide explains the general difference. Do not shorten, grind or add arbitrary washers without the engine and clutch maker's instructions. Equally, a screw that actually clamps the bearing inner race against the wrong face can produce a bell that only binds when fully tightened.
The bearing end-play and preload guide distinguishes clearance, end-play and intentional preload at a general model-engine level. For this clutch, however, only the vehicle's own parts diagram and acceptance range can set the target. Team Associated's RC8B3.1 and Team Losi Racing's 8IGHT-X Elite manuals are examples of design-specific ranges, not proof that any other buggy belongs within either one. Kyosho's two-speed shim instruction is another reason not to copy a stack between assemblies.
L — Load added by the spur and its full rotation
Once the bell itself passes the maker's rotation/end-play check, bring it into the spur relationship by the exact vehicle procedure. Check alignment in two directions: the gears must overlap as specified across their tooth widths, and the mesh depth must be within the maker's method. A small piece of paper can be a tool in the Traxxas procedure, but a paper thickness or feel from one product is not a universal gauge. A mount that sits crooked can move the gears closer at one side, load a bearing, or make tooth engagement uneven. Refer back to the mounting guide rather than bending a mount to force a single tooth to look right.
Turn the spur through a complete revolution by the permitted hand method. Team Associated's RC8.2 manual
Also check the rest of the driveline in a way the manual permits. A tight gearbox can make hand rotation feel heavy even with acceptable tooth mesh. The used nitro RC inspection checklist
L — Last change and documented handoff
Write down the last change: new bell tooth count, bearings, flywheel, collet, washer, clutch shoes, engine mount, spur, screw, or a cleaning event. A change in tooth count or bell diameter can change where the gears meet even if the mounting holes are unchanged. A newly installed bearing that seats crookedly can imitate excessive preload. Rust or contamination can produce rough rotation even when the stack is correctly spaced; the nitro bearing rust and replacement guide
If a maker-approved repair follows, change one variable at a time and repeat the same bell-only and mesh checks. Keep the original pieces labeled so the prior state can be reconstructed. If applying threadlocker to approved hardware is part of the exact manual, control where it goes: the threadlocker guide
Observation-to-action matrix
| Engine-off observation | Likely fault family, not proof | Next safe action | Do not do |
|---|---|---|---|
| Bell binds even when clear of the spur. | Axial stack, bearing, screw, shoe or spring interference. | Compare exact exploded view and last changed parts; stop if hard-locked. | Move engine mount and declare mesh fixed. |
| Bell free alone, tight only after mesh. | Gear depth, alignment, spur runout or downstream drag. | Follow the vehicle's mesh method and check a full spur revolution. | Add generic bell shims or leave a retaining screw loose. |
| Bell feels rough or wobbles without a clear mesh load. | Bearing seating, damage, contamination or wrong bell fit. | Stop and use the model's bearing inspection/replacement procedure. | Run it to polish a suspect bearing. |
| Binding appears only after retaining screw is secured. | Wrong stack, washer face, screw length or bearing clamping. | Verify part numbers and maker-specific assembly order. | Drive with the screw backed off. |
| One sector of spur revolution is tighter. | Tooth damage, eccentricity or localized interference. | Mark the sector and inspect gear/driveline by the manual. | Set the whole mesh by the loosest tooth alone. |
| Bell spins but vehicle creeps at idle. | Clutch engagement, idle setting or downstream fault. | Use the exact clutch and engine idle instructions after static safety checks. | Assume bell shimming is the only cause. |
Repair errors that can create a second fault
Copying a clearance number across kits. The manufacturer documents do not agree on one universal assembly, and some cover different clutch types entirely. A numerical target from RC8B3.1, 8IGHT-X Elite or a Kyosho two-speed is meaningful only when the specific vehicle and parts match. A guess that feels close can still load a bearing or allow a bell to wander far enough to miss tooth overlap.
Using gear mesh to hide axial binding. Pulling the engine away may reduce the force needed to turn the spur, yet the bell bearing can remain clamped. The first question is whether the bell rotates correctly before it touches the spur. If it does not, resolve that fault family first. Conversely, adding an axial shim to a free bell will not fix an engine mount angled toward the spur.
Fixing a locked bell by loosening the retainer. A test may show that clamp force is involved, but a loose crankshaft-end screw or unsecured washer can escape during operation. Record the observation with the engine off, then restore the correct parts and maker-specified secured condition before any run. Do not run to "confirm" a loosened configuration.
Ignoring contamination and heat. Grit, metal debris and clutch dust can hide between a bearing and its seat. Oil or grease on clutch surfaces can alter engagement. HPI and Team Losi Racing both give model-context maintenance advice, but solvent choice, bearing lubrication and cleaning steps remain specific to the installed materials. A bell that has just been run can burn skin; wait until fully cool. Never spray a flammable cleaner onto a hot engine.
Changing three parts at once. Bell, spur and mount changes together erase a clear baseline. Preserve the old part numbers and before photos. If a new bell has a different tooth count, use the vehicle's gearing and mesh instructions; do not assume the old engine position remains correct. The shaft-coupling alignment guide
Limits, safety and escalation
This is an educational fault-isolation guide, not a service manual. It does not supply a universal shim count, washer order, bearing grease, fastener torque, clutch spring rate, mesh clearance, idle speed or tooth count. Those are determined by the exact vehicle, engine and clutch assembly, including revisions and optional aftermarket parts. The cited source manuals illustrate different designs; use the one matching your parts. A product photograph or a seller's compatibility statement alone cannot validate a shim stack.
Keep ignition disabled, fuel safe, the vehicle supported, hands clear of rotating teeth, and all hot parts fully cool during inspection. Do not operate an engine with a loose retainer, hard bell bind, missing bearing, damaged spur or unexplained wobble. Stop if resolving the fault requires filing a crankcase, grinding a bell, bending a mount or forcing a bearing into an incorrect seat. Ask the maker or a competent RC mechanic for the exact part and acceptance procedure. No field trial, failure-rate measurement or repair-success statistic was performed for this article.
Frequently asked questions
Should a nitro clutch bell spin freely with the engine off?
Follow the exact kit's acceptance check. Major manufacturer manuals require a free-spinning bell for specific assemblies. A hard lock, grind or obvious wobble is not something to run through; isolate it with the engine incapable of starting.
Is a locked clutch bell always bad gear mesh?
No. If it binds while clear of the spur, the cause is on the bell/shaft/clutch side. If it moves freely alone but tightens when meshed, look at the gear relationship and driveline according to the model manual.
Can I use another brand's shim thickness or axial-play number?
No. The documented numbers and shim positions belong to particular vehicle assemblies. Identify your exact clutch, bearings, crankshaft, bell and revision before applying any specification.
Why does it bind only after I tighten the end screw?
The secured screw may change how the washer, shim and bearing stack is clamped; an incorrect length or face can also matter. Record the engine-off observation, consult the exploded view, and do not drive with the screw loose.
Will the paper-strip method fix a bell that cannot rotate on its own?
No. The paper-strip procedure is a way some makers set bell-to-spur gear mesh. It cannot free a bearing or shim stack that already binds when the gears are apart.
Why check the whole spur revolution?
One sector can be tighter because of tooth damage, eccentricity or alignment. An easy single position may mislead. Use the vehicle's static check and stop when a repeating hard spot is found.
Should I run a new clutch until the bearing loosens?
No. Forced running can damage the bearing, bell, spur or retainer. A tight or gritty new assembly calls for a model-specific inspection and correction before operation.
Conclusion
Do not treat every stiff nitro clutch bell as a gear-mesh problem. Freeze the engine-off condition, use the B-E-L-L record to isolate bell-only rotation and end-play before adding spur load, check the complete gear revolution, and compare the last change with the exact manual. A model-specific static diagnosis protects both the clutch and the drivetrain better than a universal shim rule.
Leave a comment